
Independent printer guidance — call for current availability

+1 (818) 691-4592
Professional printer guidance

Find the right fix for your printer issue.

Choose the problem you are facing and follow a clear troubleshooting path for wireless connection, offline status, printing failures, setup and color output.

Independent service Step-by-step guidance Safety-first approach
Wireless connection

How to connect a printer to Wi-Fi

Use these steps when the printer is new, the router has changed, or the printer is no longer visible on the network.

  1. 1
    Check the network

    Confirm the router is online and note the correct Wi-Fi name and password.

  2. 2
    Open wireless setup

    Use the printer control panel to open Network, Wireless or Wi-Fi Setup.

  3. 3
    Select the Wi-Fi name

    Choose the intended network and enter the password carefully; passwords are case-sensitive.

  4. 4
    Add the printer

    Open printer settings on the computer or mobile device and select Add Printer or Add Device.

  5. 5
    Print a test page

    Confirm the printer can receive and complete a basic print job.
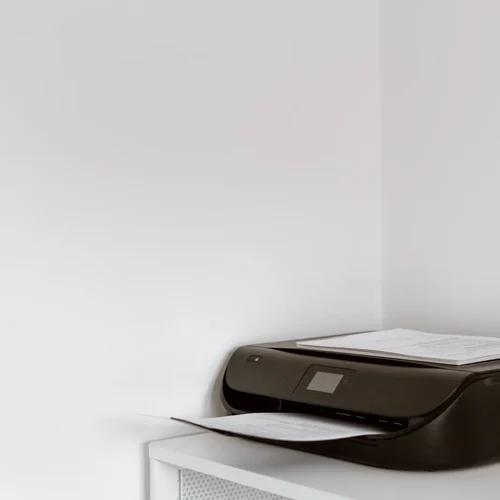
Wireless printer ready for network setup

Network tip: The printer and sending device generally need to be on the same local network. Guest networks may prevent printer discovery.
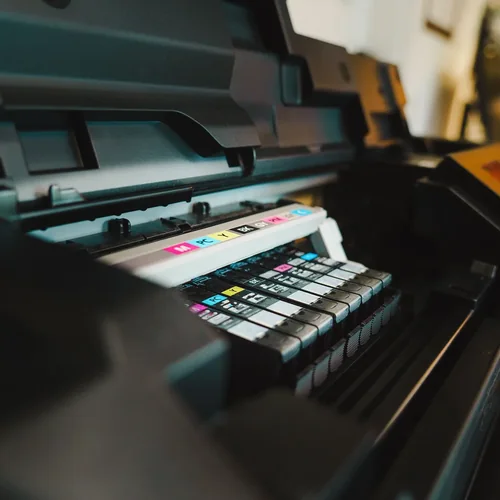
Offline status

What to check when a printer shows offline

An offline message usually means the computer cannot currently communicate with the selected printer.

PowerPrinter is on and free of visible errors
NetworkConnected to the intended Wi-Fi
Print queueNo paused or stuck print jobs
Selected deviceCorrect printer is set as default
  1. Restart the printer and the computer or mobile device.
  2. Verify the printer is connected to the current Wi-Fi network.
  3. Open the print queue and remove old or stuck jobs.
  4. Disable “Pause Printing” and “Use Printer Offline” if enabled.
  5. If the router or Wi-Fi password changed, reconnect the printer.

Software safety: Use printer software only from the manufacturer’s official website or built-in device setup tools.

No printed output

Printer is connected but not printing

Physical checks

  • Paper is loaded correctly and matches the selected size.
  • No paper jam, open cover or blinking error light is present.
  • Ink or toner is installed and has sufficient supply.
  • A printer test page can be produced from the device itself.

Computer checks

  • The intended printer is selected in the print window.
  • The print queue does not contain a blocked job.
  • The application is sending a supported document or image.
  • The correct driver is installed from an official source.
New printer setup

A professional setup sequence

User completing a new printer setup
  1. 1
    Unpack carefully

    Remove transport tape, cardboard and protective material.

  2. 2
    Install supplies

    Fit the correct ink or toner and load supported paper.

  3. 3
    Choose connection

    Select USB, Ethernet or wireless based on the supported options.

  4. 4
    Add the printer

    Use the operating system’s printer settings or official setup software.

  5. 5
    Align and test

    Complete alignment if requested and print a test page.

Color printing

Printer is not printing in color

  • Turn off Grayscale, Black & White or Black Ink Only in print settings.
  • Check color ink or toner levels and confirm supplies are installed correctly.
  • Print a nozzle-check or quality report when the printer supports it.
  • Run one basic print-head cleaning cycle if colors are missing.
  • Review the selected paper type and print-quality setting.
  • Print a small color test image to confirm the result.
Color printer output and calibration material

Ink-saving note: Avoid running repeated cleaning cycles because they can use a significant amount of ink.

General diagnostic flow

Troubleshoot in the right order

1. Read the printer status

Note the exact error message, indicator light or display icon.

2. Check physical basics

Power, paper, doors, jams, supplies and connection cables.

3. Verify the connection

USB, Ethernet or the correct Wi-Fi network.

4. Review the print queue

Clear stuck jobs and make sure printing is not paused.

5. Print a device test page

Separate printer hardware issues from computer or application issues.

6. Use model-specific guidance

Refer to the official manual or qualified local repair service when necessary.

Stop using the printer if you notice smoke, sparks, a burning smell, liquid damage, unusual heat or exposed electrical components. Seek qualified local repair assistance.

Expert Customer Care

Need help choosing the correct troubleshooting steps?

Call with your printer model and exact error message for current service availability.

+1 (818) 691-4592
Call Printer Help: +1 (818) 691-4592